Service Provider (SP) initiated login
This article will walk you through how to enable SAML single sign-on for your Braze account.
Requirements
Upon setup, you will be asked to provide a sign-on URL and an Assertion Consumer Service (ACS) URL.
| Requirement | Details |
|---|---|
| Assertion Consumer Service (ACS) URL | https://<SUBDOMAIN>.braze.com/auth/saml/callback For some IdPs, this can also be referred to as the Reply URL, Sign-On URL, Audience URL, or Audience URI. |
| Entity ID | braze_dashboard |
| RelayState API key | Go to Settings > API Keys and create an API key with sso.saml.login permissions, and then input the generated API key as the RelayState parameter within your IdP. |
If you are using the older navigation, you can find your API keys under Settings at Developer Console > API Settings.
SAML SSO setup
Step 1: Configure your identity provider
Set up Braze as a service provider (SP) in your identity provider (IdP) with the following information. In addition, set up SAML attribute mapping.
If you plan on using Okta as your identity provider, make sure to use the pre-built integration found on the Okta site.
| SAML Attribute | Required? | Accepted SAML Attributes |
|---|---|---|
email |
Required | email mail http://schemas.xmlsoap.org/ws/2005/05/identity/claims/email |
first_name |
Optional | first_name firstname firstNamehttp://schemas.xmlsoap.org/ws/2005/05/identity/claims/first_name |
last_name |
Optional | last_name lastname lastName http://schemas.xmlsoap.org/ws/2005/05/identity/claims/last_name |
Braze only requires email in the SAML Assertion.
Step 2: Configure Braze
When you finish setting up Braze in your identity provider, your identity provider will provide you with a target URL and x.509 certificate to input into your Braze account.
After your account manager turns on SAML SSO for your account, go to Settings > Admin Settings > Security Settings and toggle the SAML SSO section to ON.
If you are using the older navigation, select your account icon and go to Company Settings > Security Settings to find the SAML SSO section.
On the same page, input the following:
| Requirement | Details |
|---|---|
SAML Name |
This will appear as the button text on the login screen. This is typically your identity provider’s name, like “Okta.” |
Target URL |
This is provided after setting up Braze within your IdP. Some IdPs reference this as the SSO URL or SAML 2.0 Endpoint. |
Certificate |
The x.509 certificate that is provided by your identity provider. |
Make sure that your x.509 certificate follows this format when adding it to the dashboard:
1
2
3
-----BEGIN CERTIFICATE-----
<certificate>
-----END CERTIFICATE-----
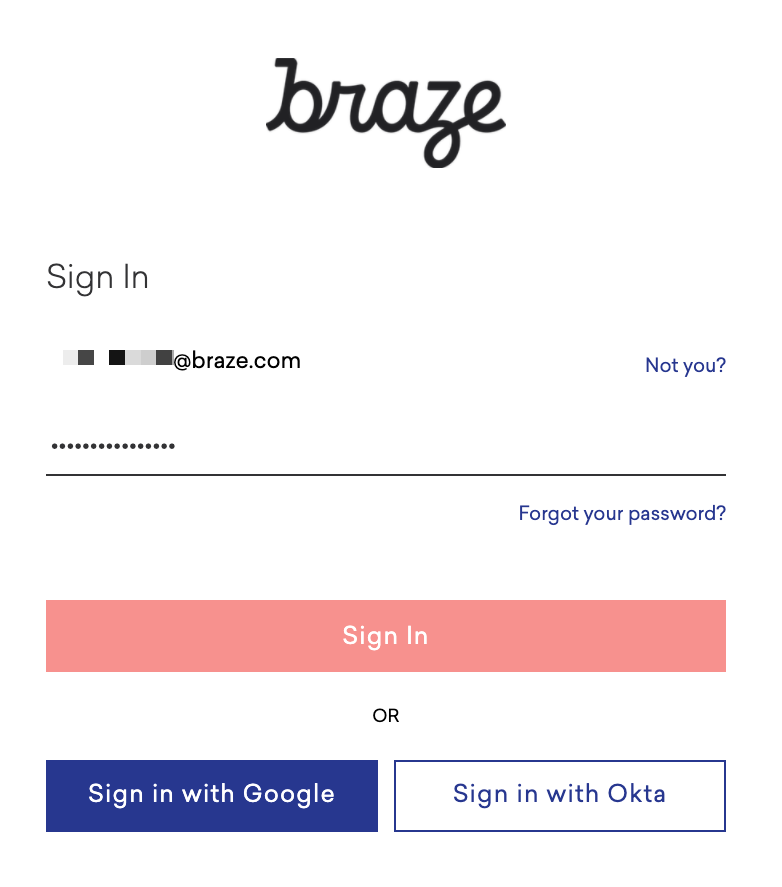
Step 3: Sign into Braze
Save your security settings and log out. Then, sign back in with your identity provider.
SSO behavior
Members who opt to use SSO will no longer be able to use their password as they did prior. Users who continue to use their password will be able to unless restricted by the following settings.
Restriction
You can restrict the members of your organization to only sign in with either Google SSO or SAML SSO. To turn on restrictions, go to Security Settings and select either Enforce Google SSO only login or Enforce custom SAML SSO only login.
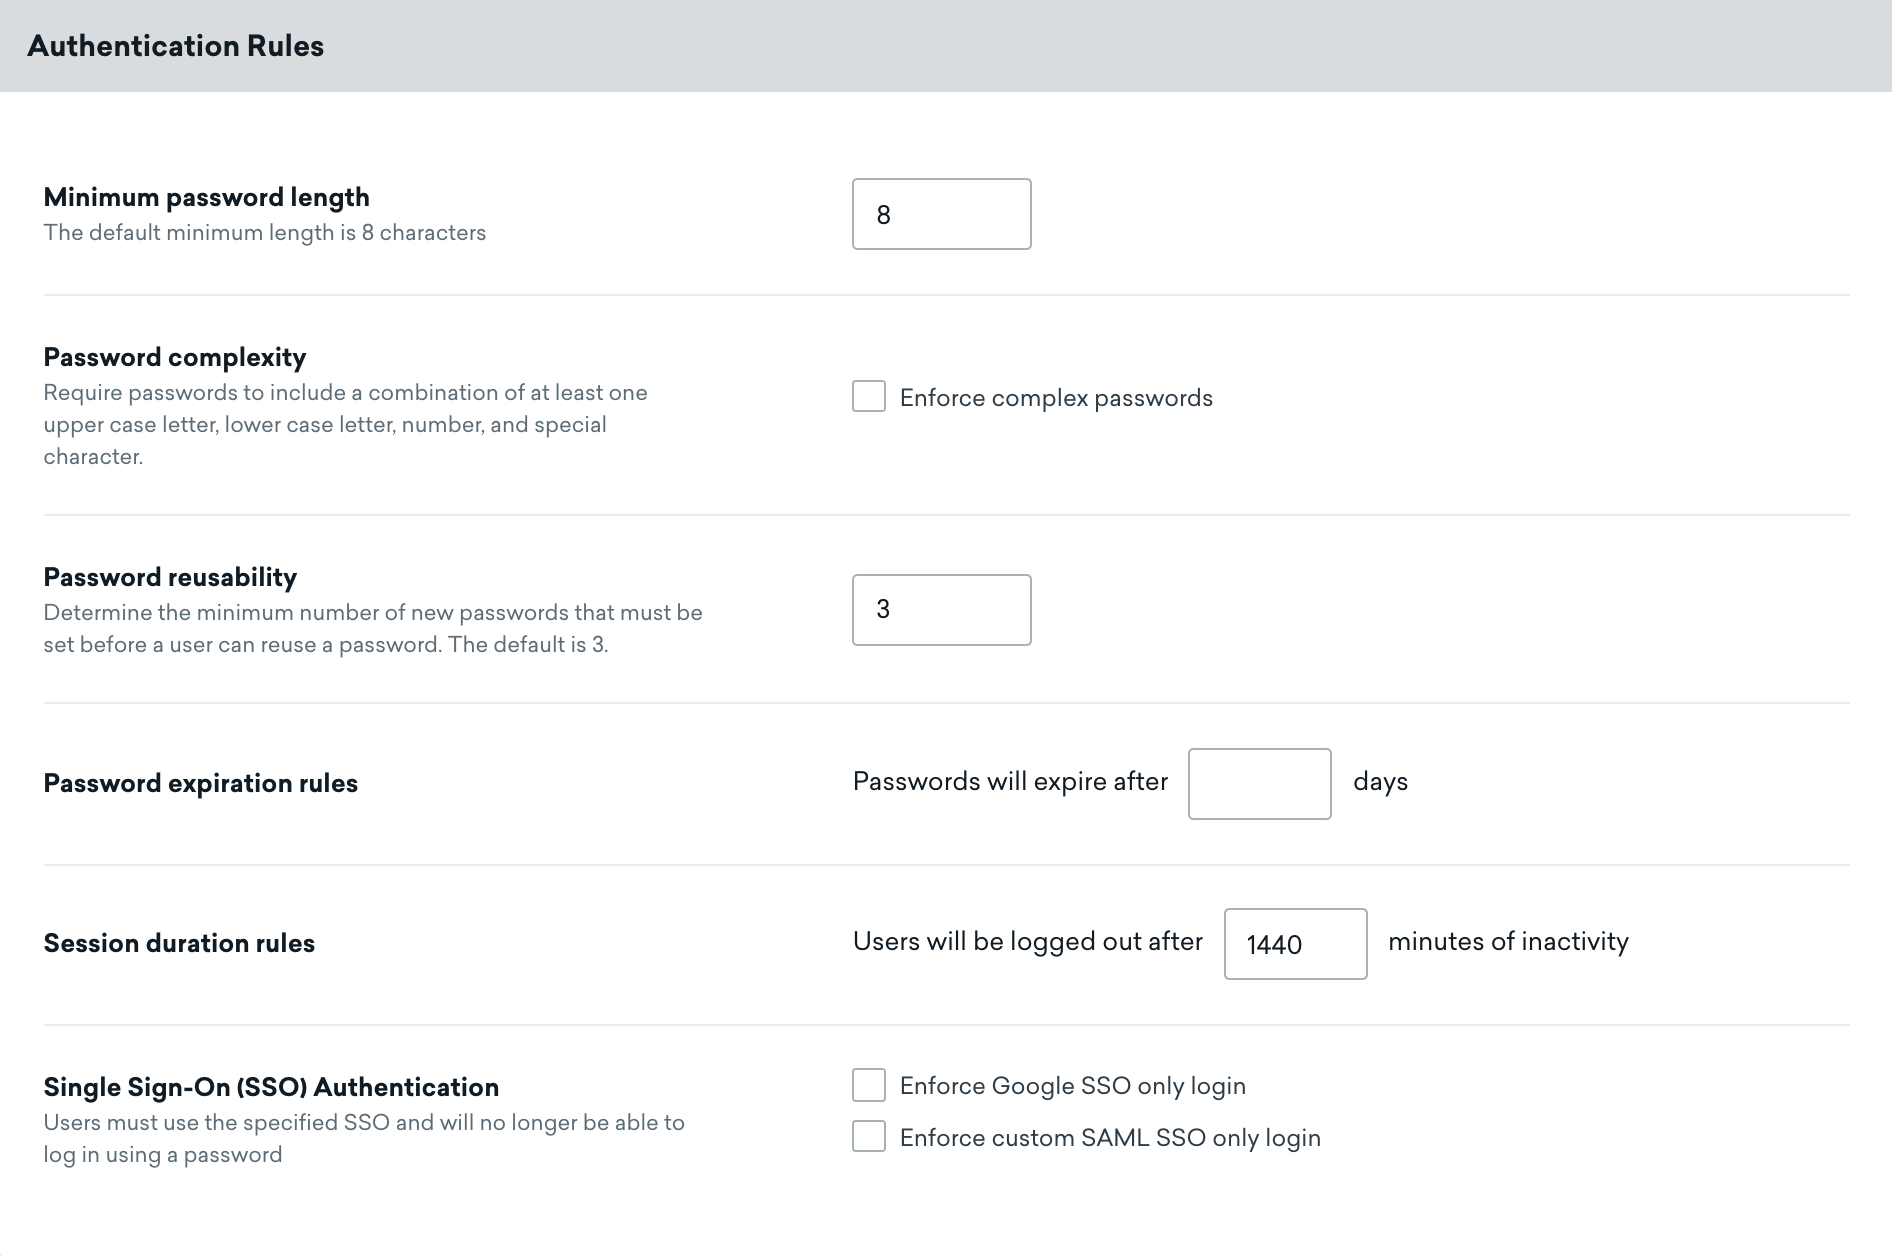
By turning on restrictions, your company’s Braze users will no longer be able to log in using a password, even if they have logged in with a password before.
 Edit this page on GitHub